Welcome to the Asphaltech Parking Lot Sealcoating Guide! In this comprehensive guide, we’ll take you through everything you need to know about parking lot sealcoating, including what it is, why it’s important, and how to do it. We’ll also cover some of the common mistakes people make when sealcoating their parking lot, and give you tips on how to avoid them.
What is Parking Lot Sealcoating?
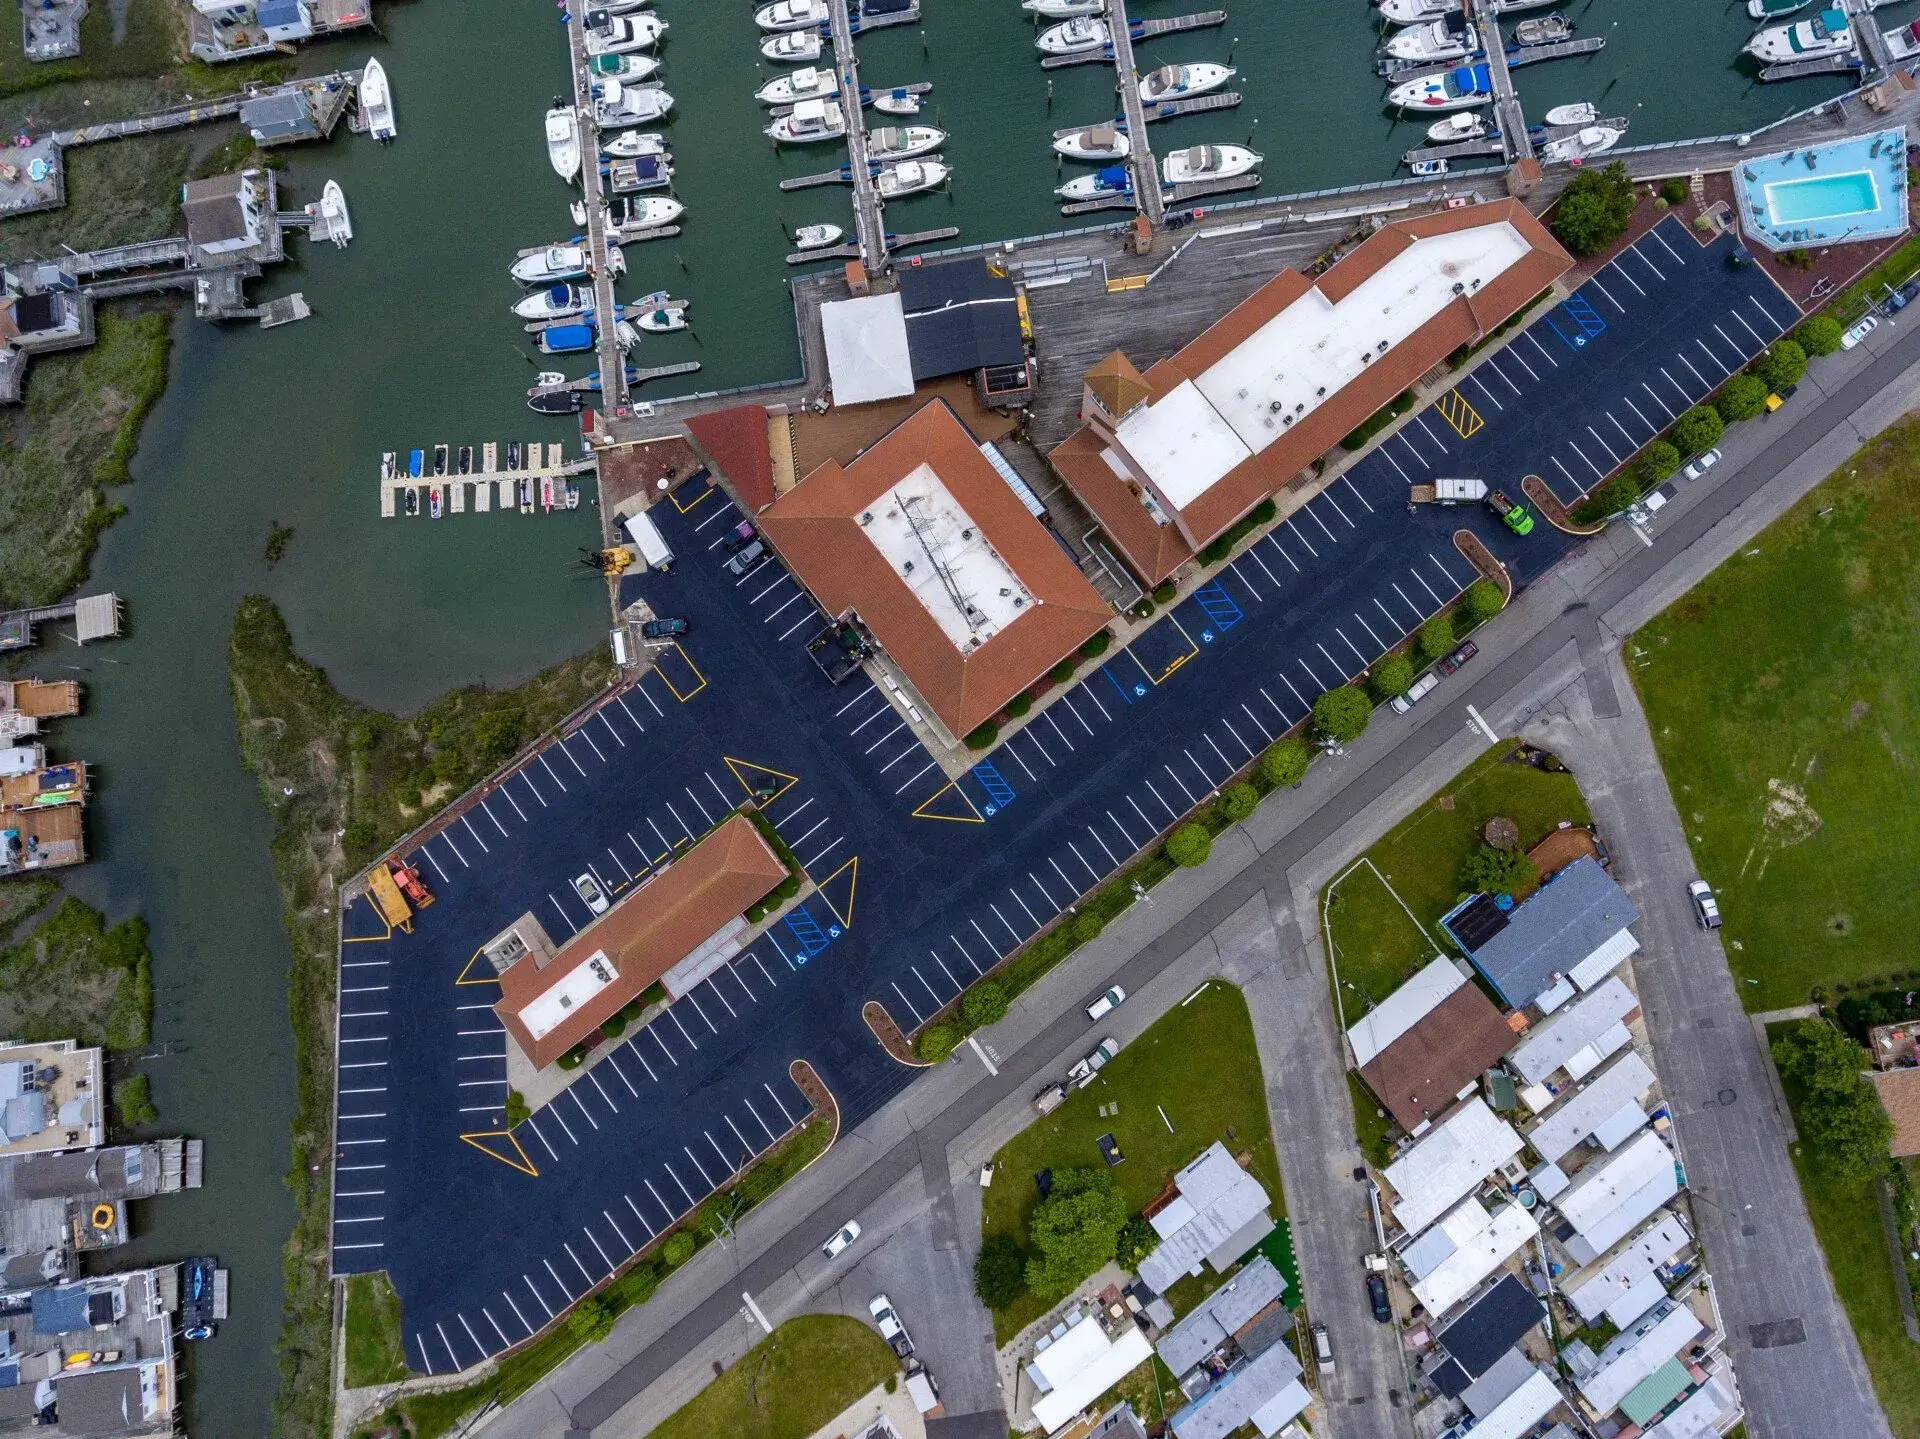
Parking lot sealcoating is an important process that protects the asphalt pavement from damage caused by weather, UV rays, and traffic. Over time, asphalt pavement can become brittle and crack, which can lead to potholes and other types of damage. Sealcoating helps prevent this by providing a layer of protection between the pavement and the elements.
Sealcoating also helps extend the lifespan of your parking lot. Asphalt pavement is a significant investment, and you want to make sure it lasts as long as possible. Regular sealcoating can help extend the lifespan of your parking lot by several years, which can save you money in the long run by reducing the need for expensive repairs or replacement.
Finally, sealcoating can improve the appearance of your parking lot. A fresh coat of sealcoat can make your parking lot look brand new, which can be a big selling point for businesses that rely on curb appeal to attract customers.
Why is Parking Lot Sealcoating Important?
There are many reasons why sealcoating your parking lot is important. Here are a few more details:
Protection from the Elements
Asphalt pavement is exposed to a variety of environmental factors that can cause damage over time. Rain, snow, and UV rays can all cause the pavement to break down and become brittle. When this happens, cracks can develop, which can lead to potholes and other types of damage. Sealcoating provides a protective layer that helps prevent damage from these elements.
Extending the Lifespan of Your Parking Lot
Sealcoating can help extend the lifespan of your parking lot by several years. By providing a protective layer, sealcoating helps prevent damage to the pavement, which can reduce the need for expensive repairs or replacement. Regular sealcoating can help ensure that your parking lot lasts as long as possible, which can save you money in the long run.
Improving the Appearance of Your Parking Lot
A fresh coat of sealcoat can make your parking lot look brand new. This is especially important for businesses that rely on curb appeal to attract customers. By improving the appearance of your parking lot, you can create a more welcoming environment for your customers.
How often should your parking lot be sealcoated?
As a property owner or manager, it’s important to ensure that your parking lot remains in top condition. One of the best ways to protect your investment is by sealcoating the pavement. But how often should you do it? This is a common question that many property owners ask, and for good reason.
The recommended frequency for sealcoating your parking lot is every 24-36 months. However, this can vary depending on a few factors. Weather conditions, such as rain, snow, and extreme temperatures, can all affect the lifespan of your sealcoat. Heavy traffic on your parking lot can also wear down the sealcoat faster. If you notice any signs of cracking, wear and tear, or fading on your pavement, it may be a good idea to have your parking lot assessed by a sealcoating professional. They can help you determine if it’s time to reseal the surface or if repairs are needed.
Sealcoating your parking lot is an essential maintenance task that can extend the lifespan of your pavement and protect it from damage caused by the elements and traffic. By scheduling regular sealcoating appointments, you can ensure that your parking lot remains in excellent condition for years to come. Don’t wait until it’s too late – take action now to protect your investment and avoid costly repairs in the future.
How to Sealcoat Your Parking Lot
Sealcoating your parking lot is a relatively simple process, but it does require some preparation and planning. Here’s a more detailed look at each step of the process:
Clean the Surface
Cleaning the surface is an important step in the sealcoating process. Any debris, dirt, or oil on the surface can prevent the sealcoat from adhering properly. The surface should be cleaned thoroughly using a power washer or broom. Any cracks or potholes should also be cleaned and repaired before the sealcoating process begins.
Prepare the Sealcoat
The sealcoat should be prepared according to the manufacturer’s instructions. It’s important to follow the instructions carefully to ensure that the mixture is applied correctly and provides maximum protection. The sealcoat should be mixed in a tank or drum, and any additives such as sand or latex should be added at this time.
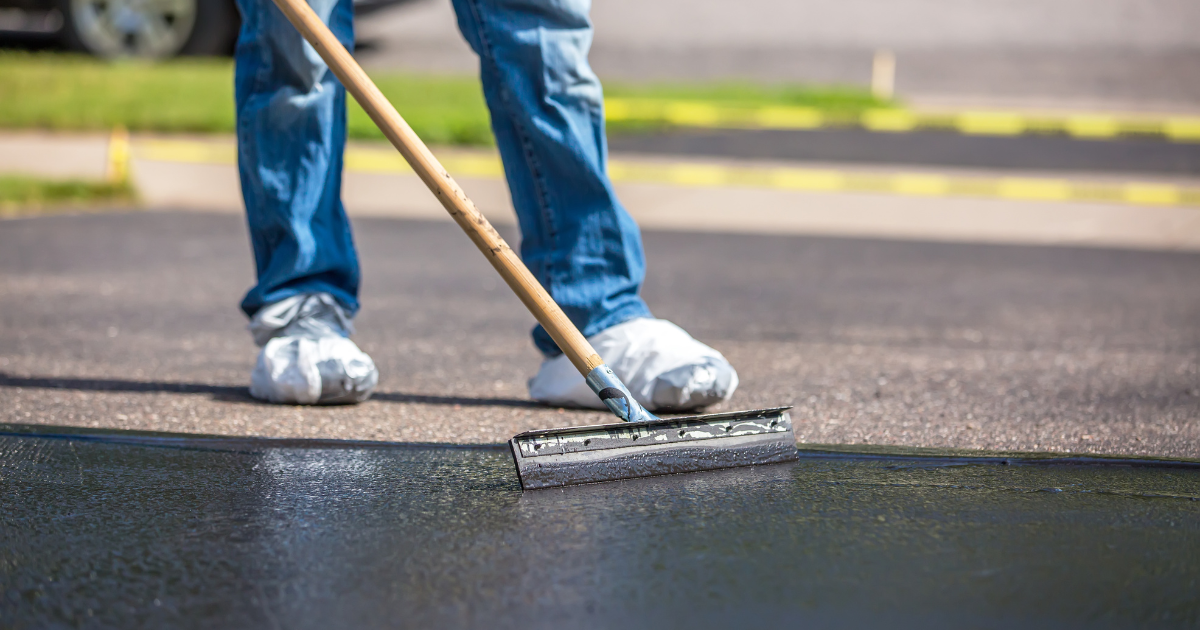
Apply the Sealcoat
The sealcoat can be applied using a squeegee, brush, or spray. It’s important to apply the sealcoat evenly to ensure that the surface is protected. The sealcoat should be applied in thin layers, and each layer should be allowed to dry completely before the next layer is applied. Most sealcoats require at least two coats for maximum protection.
Allow the Sealcoat to Dry
Once the final coat of sealcoat has been applied, it’s important to allow the surface to dry completely before allowing traffic back on the pavement. The drying time can vary depending on the temperature and humidity, but it’s usually around 24 hours.
Common Sealcoating Mistakes to Avoid

Sealcoating your parking lot is a straightforward process, but there are several common mistakes that people make. Here are some tips to help you avoid them:
Skipping the Cleaning Process
One of the most common mistakes people make when sealcoating their parking lot is skipping the cleaning process. The surface must be cleaned thoroughly to ensure that the sealcoat adheres properly. Any debris, dirt, or oil on the surface can prevent the sealcoat from sticking, leading to an ineffective and uneven application.
Applying the Sealcoat Too Thickly
Another mistake people make is applying the sealcoat too thickly. This can lead to cracking and peeling, and it may not provide adequate protection to the pavement. It’s essential to follow the manufacturer’s instructions carefully and apply the sealcoat in thin, even layers.
Applying Sealcoat in Poor Weather Conditions
Sealcoating should only be done in good weather conditions. Rain, humidity, and extreme temperatures can all affect the effectiveness of the sealcoat. It’s important to check the weather forecast before beginning the sealcoating process. If the weather is not ideal, it’s best to reschedule the job for another day.
Not Allowing the Sealcoat to Dry Completely
Allowing the sealcoat to dry completely is critical to its effectiveness. If the surface is not allowed to dry completely before allowing traffic back on it, the sealcoat may peel or crack. It’s essential to wait at least 24 hours before allowing traffic back on the pavement. If possible, it’s best to avoid parking heavy vehicles on the surface for several days to ensure that the sealcoat has cured completely.
Conclusion
Sealcoating your parking lot is an important investment that can help extend the lifespan of your pavement, protect it from damage, and improve its appearance. The process is relatively simple, but it requires careful planning and preparation to ensure that it’s done correctly. By following the steps outlined in this guide and avoiding common mistakes, you can ensure that your parking lot remains in top condition for years to come. Remember, regular maintenance is key to keeping your pavement in excellent condition and avoiding costly repairs or replacement in the future. Looking for a reputable company to help you sealcoat and maintain your parking lot? Take the first step and contact an asphalt repair pro near you